Steps Common To Both Groups and Pages
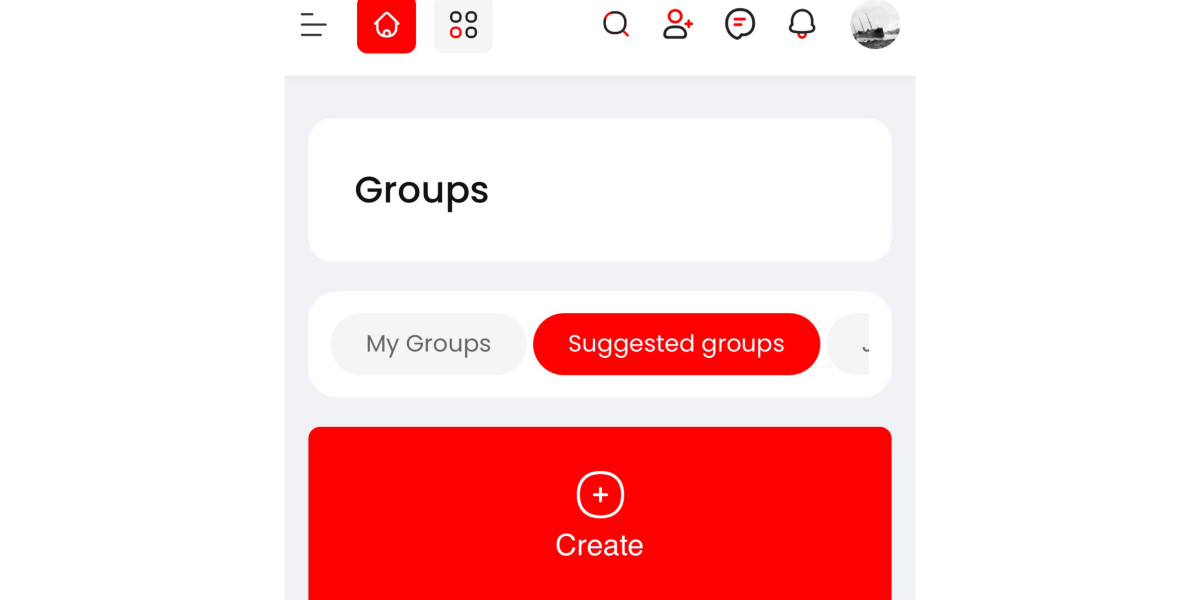
1) On the left menu, select "My Groups" or "My Pages".
2) Then select "Create". The system will then open up a "Create New Group" or a "Create New Page" window.
3) Type in your "Group" or "Page" name. Space between words is allowed.
4) To the right of "https://kcunac.com/" there is a entry box, click on it and type in your "Group" or "Page" URL name. Space between the words is NOT allowed. e.g. CatPictures
5) In the "Description" field, type in a brief description of your "Group" or "Page" indicating the purpose of the "Group" or "Page".
Proceed to either the "Group Steps Continued" or "Pages Steps Continued" below to continue.
Group Steps Continued
6) Under "Group Type" select down arrow and select if the "Group" is to be "Public" or "Private".
7) Under "Category" select the best fitting category for the Group that you are creating.
8) Select "Create" to create your Group.
9) The system has created your Group as shown. Select the "Edit" button in the Group header.
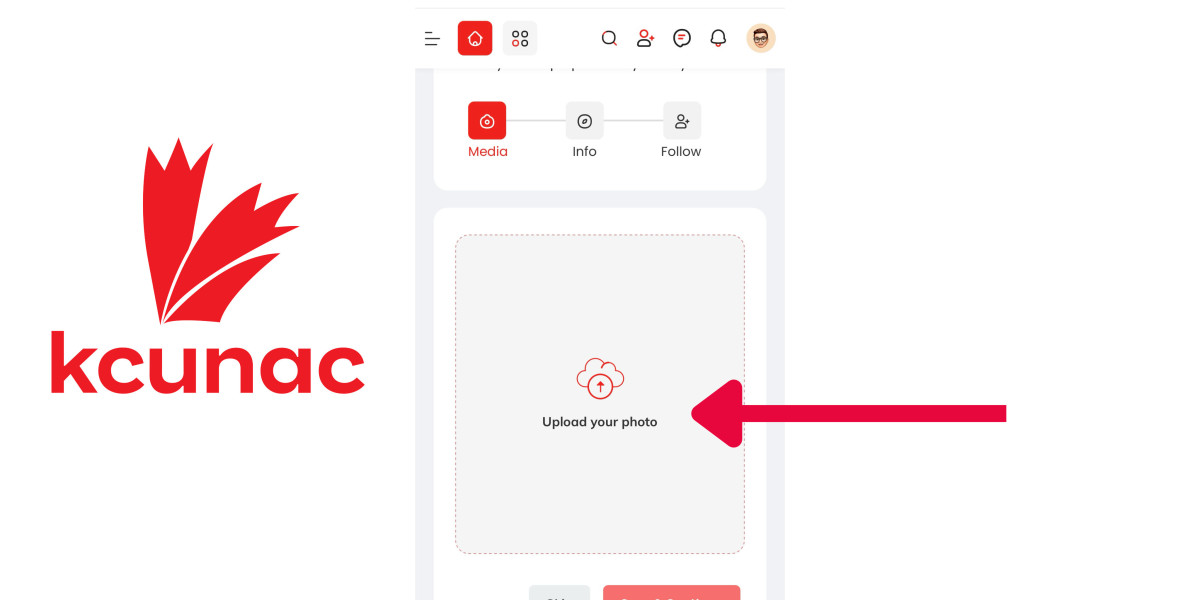
10) On the left menu select "Avatar & Cover" to add your Groups header pictures. There are 2 pictures. They both MUST be entered before saving or they will NOT show. The large wide photo is the "Cover" photo and the small circle one is the "Avatar" photo. The cover photo size is "918 x 300" and avatar is "150 x 150". You may need to try several photos to get the ones that you like.
11) Then select "Save".
12) Your Group is now created, select "Home", "My Groups", look for the group you just created and click on the "Avatar" part of the Group icon.
13) Now create your first "Group" post.
Page Steps Continued
6) Select "Create"
7) The Page you just created is shown. Select "Edit".
8) Under the option "Users can post on my page", check the one you want.
9) Leave Verification as set to "Not Verified".
10) On left menu, select "Avatar & Cover" to add your Page's header pictures. There are 2 pictures. They both must be entered before saving or they will NOT show. The large wide photo is the "Cover" photo and the small circle photo is the "Avatar" photo. The cover photo size is "918 x 300" and avatar is "150 x 150". You may need to try several photos to get one that you like.
11) Then select "Save".
12) Your Page is now created, select "Home", "My Pages", and look for the page you just created and click on the "Avatar" part of the Page icon.
13) Create your first "Page" post.
